Before you can even think about sending crypto, you need to decide where you'll be sending it from. This choice boils down to two main options: a centralized exchange (CEX) like Coinbase or a self-custody wallet like MetaMask. Your decision here is a big one, as it directly impacts your control, convenience, and security.
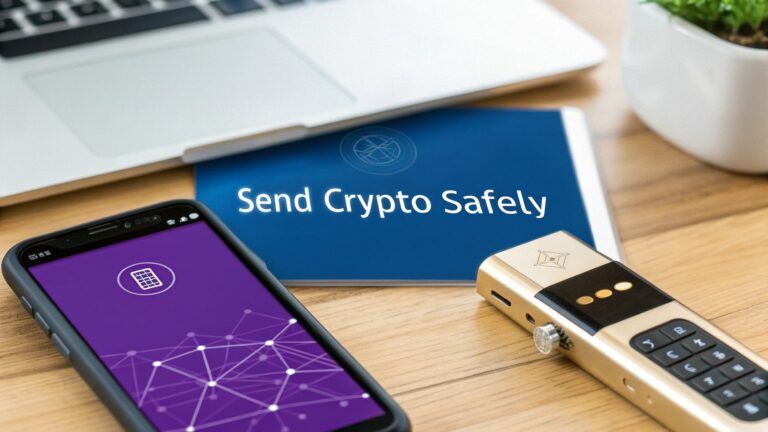
Your Essential Toolkit for Sending Crypto
To move digital assets around, you need the right launchpad. Think of this as a pre-flight check before your first transaction. Your two main options are centralized exchanges and self-custody wallets, and each comes with its own set of rules and responsibilities.
Exchanges vs. Wallets: A Key Decision
For many people just starting out, sending crypto from a centralized exchange feels like the natural first step. Platforms like the one where you likely bought your first Bitcoin or Ethereum offer a familiar, banking-style experience. They hide a lot of the technical stuff, making the whole process feel simple and straightforward.
But there’s a catch. When you use an exchange, you don't actually hold the private keys to your crypto.
The old saying in this space is, "not your keys, not your crypto." It’s a crucial concept. If an exchange holds your assets, you're trusting them completely with your funds.
A self-custody wallet, on the other hand, puts you in the driver's seat. You—and only you—hold the private keys, which are essentially the password to your funds on the blockchain. This gives you total freedom to send, receive, and manage your assets without asking for anyone's permission. With that freedom, however, comes total responsibility. If you lose your keys, your crypto is gone for good.
Preparing Your Wallet and Getting Crypto
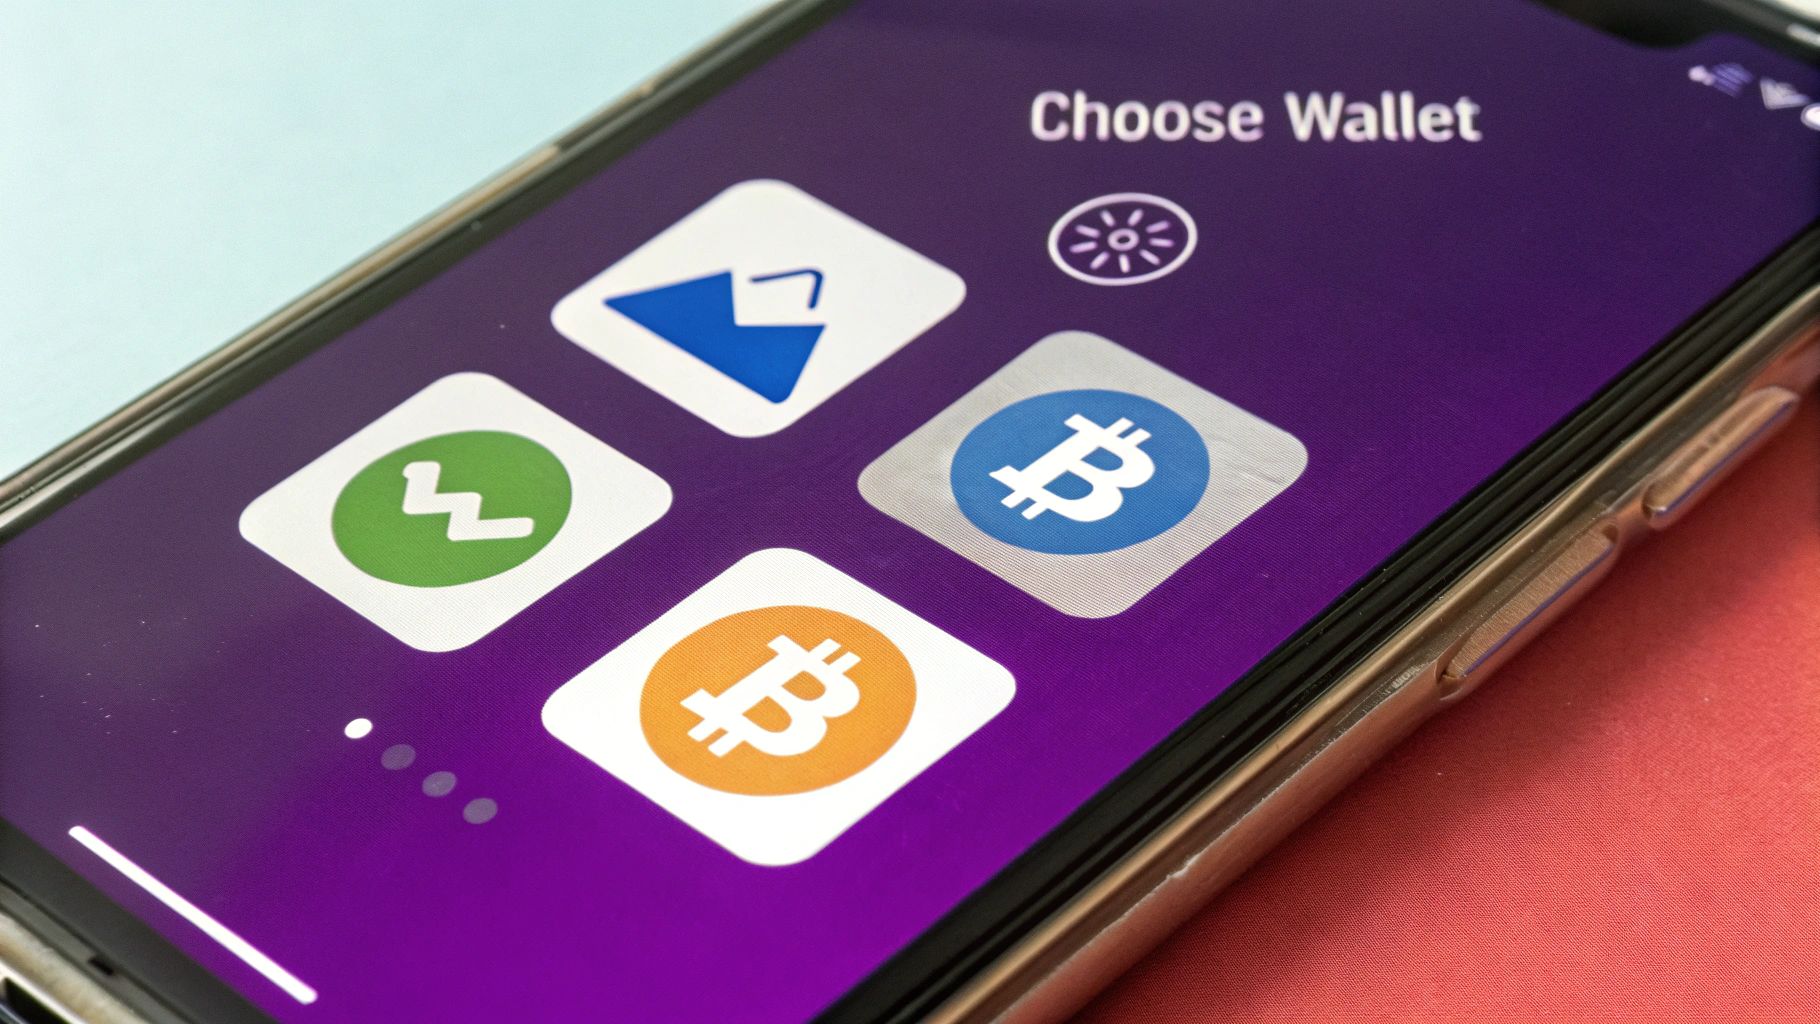
Once you've picked your platform, it’s time to get it set up. If you're sticking with an exchange, this part is easy—just log in and make sure you have a balance to send.
Setting up a self-custody wallet is a bit more hands-on, but it's a critical skill to learn:
- Create your wallet: First, download a reputable wallet app. Follow the on-screen instructions carefully.
- Secure your seed phrase: The wallet will give you a 12 or 24-word seed phrase. This is everything. Write it down on paper—never store it digitally—and keep it in a safe, offline location. Even better, make a couple of copies and store them separately.
- Fund your wallet: The final step is to buy some crypto on an exchange and then withdraw it to the public address of your new wallet.
This initial setup process is a fundamental part of your crypto education. To dive deeper into these topics and more, dedicated learning hubs like the vTrader Academy are an invaluable resource for building your knowledge.
A Practical Walkthrough of a Crypto Transaction
Alright, with your wallet set up, let's get into the nuts and bolts of actually sending crypto. This is where theory meets practice, and paying attention to the details is non-negotiable. Whether you're sending Bitcoin to a friend or paying a freelancer in USDT, the basic steps are surprisingly similar across most platforms.
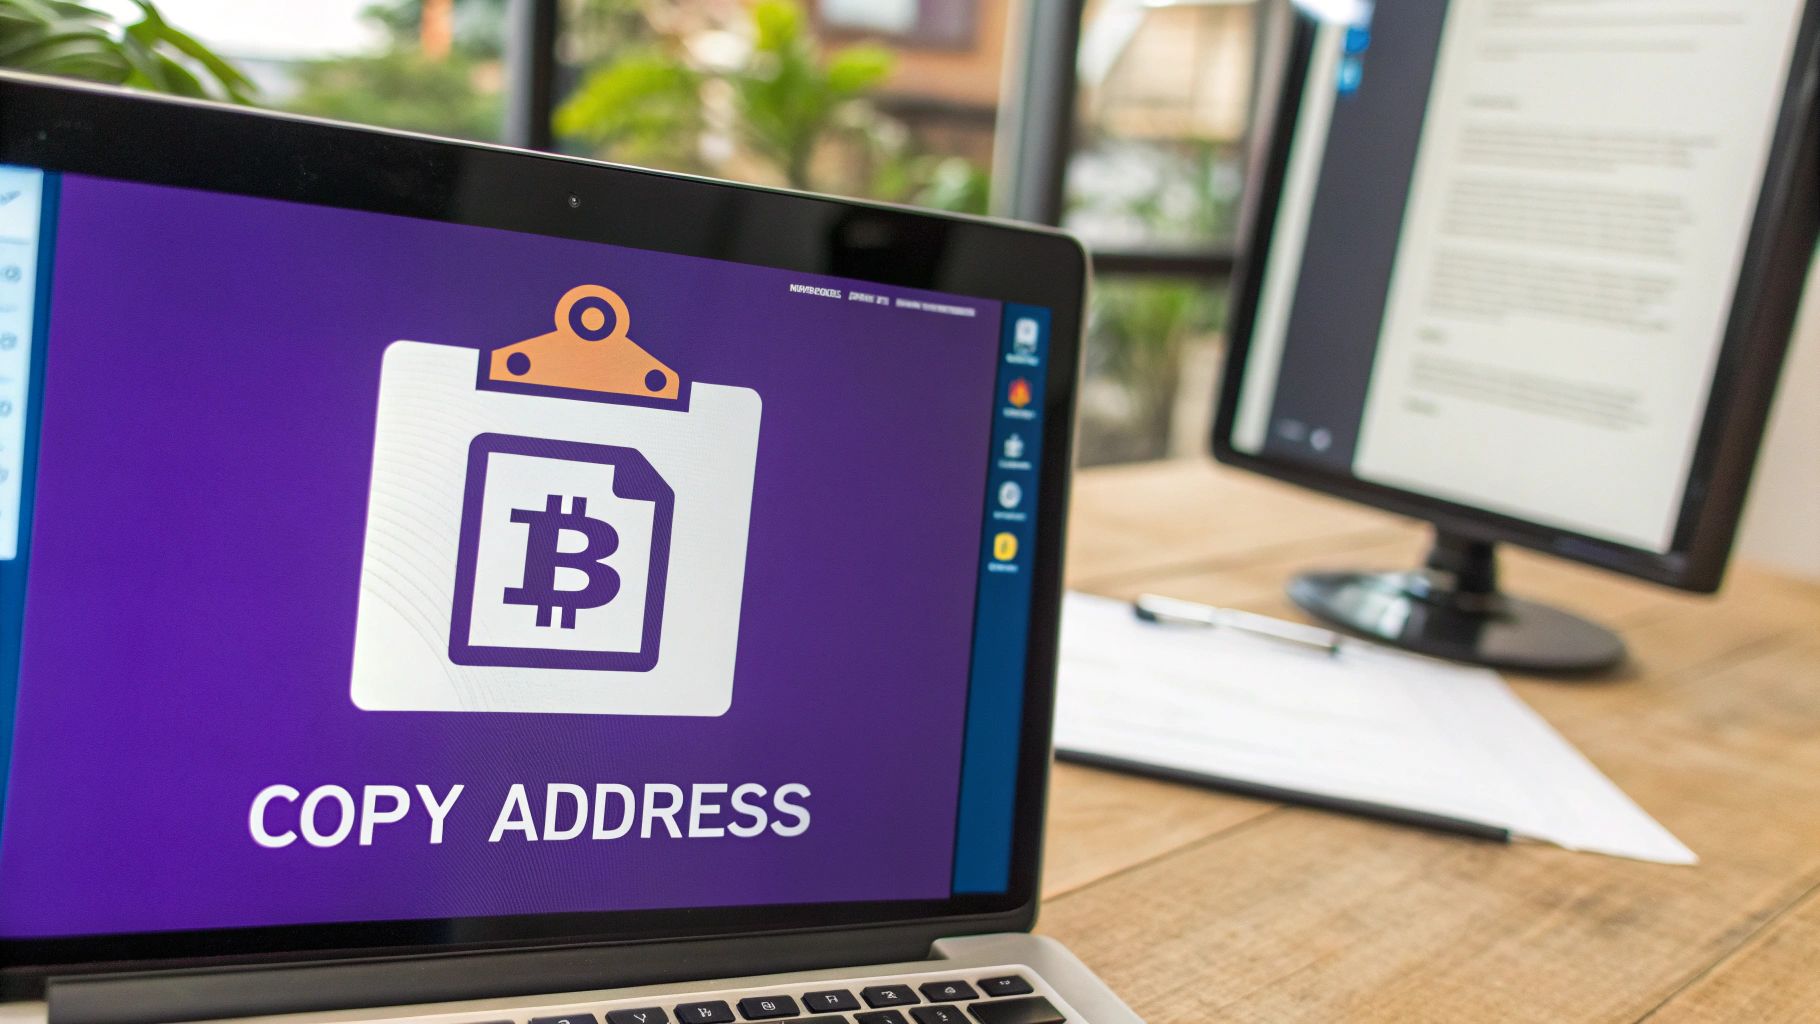
The two absolute must-haves are the recipient's wallet address and the exact amount you intend to send. A crypto address is a long, complex string of characters. Get one digit wrong, and your funds are gone for good—no takebacks. My rule is simple: copy and paste every time, then visually check the first four and last four characters to confirm they match.
The Most Common (and Costly) Mistake: Choosing the Wrong Network
Before you even think about pasting that address, there's a critical choice to make: the blockchain network. This is, without a doubt, the easiest way for newcomers to lose money.
Take a popular stablecoin like USDT, for example. It exists on multiple chains, including Ethereum as an ERC-20 token and Tron as a TRC-20 token. If you send ERC-20 USDT to a TRC-20 address, it's like sending a package to the right house number but in the wrong country. The transaction will fail, and your crypto will be lost forever.
Always, always ask the recipient, "Which network do you want this on?" Their wallet address is tied to a specific blockchain, and they must match.
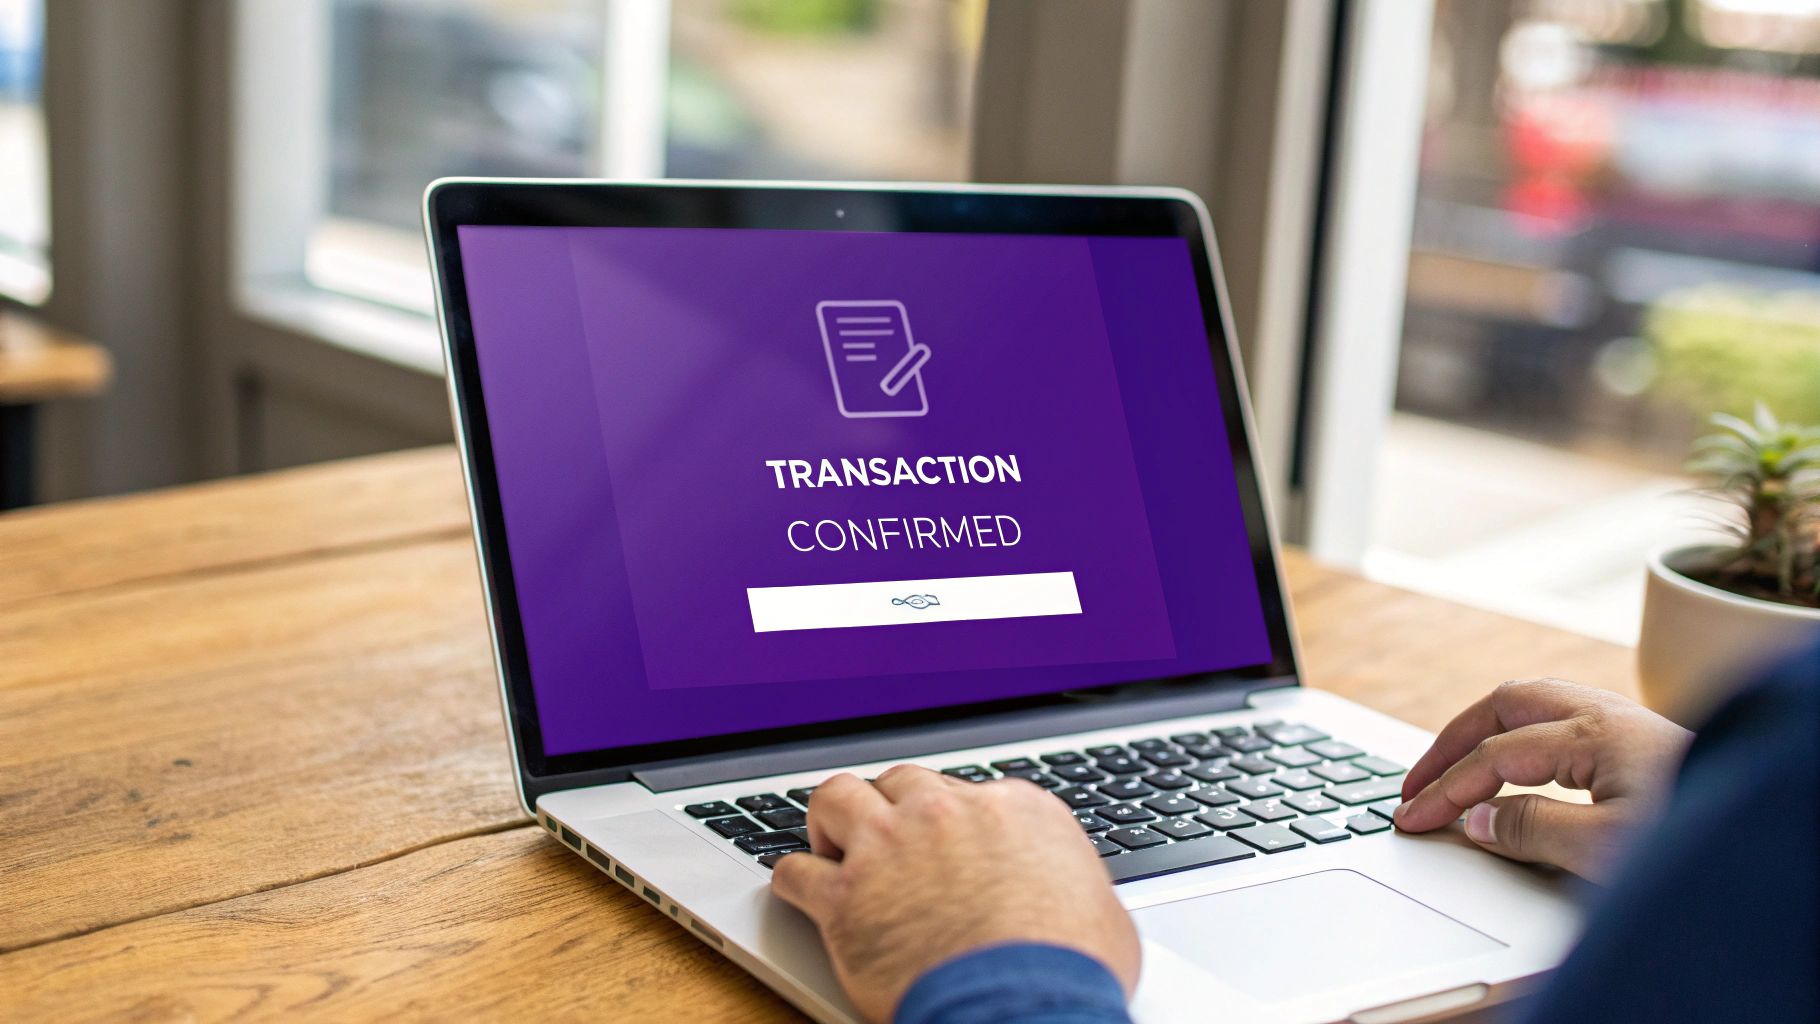
Pulling the Trigger: Initiating and Confirming the Send
Once you have the correct address and have verified the network, look for the "Send" or "Withdraw" option in your wallet or exchange. This is where you'll plug in the address and the amount.
This infographic breaks down the core flow of any crypto transaction.
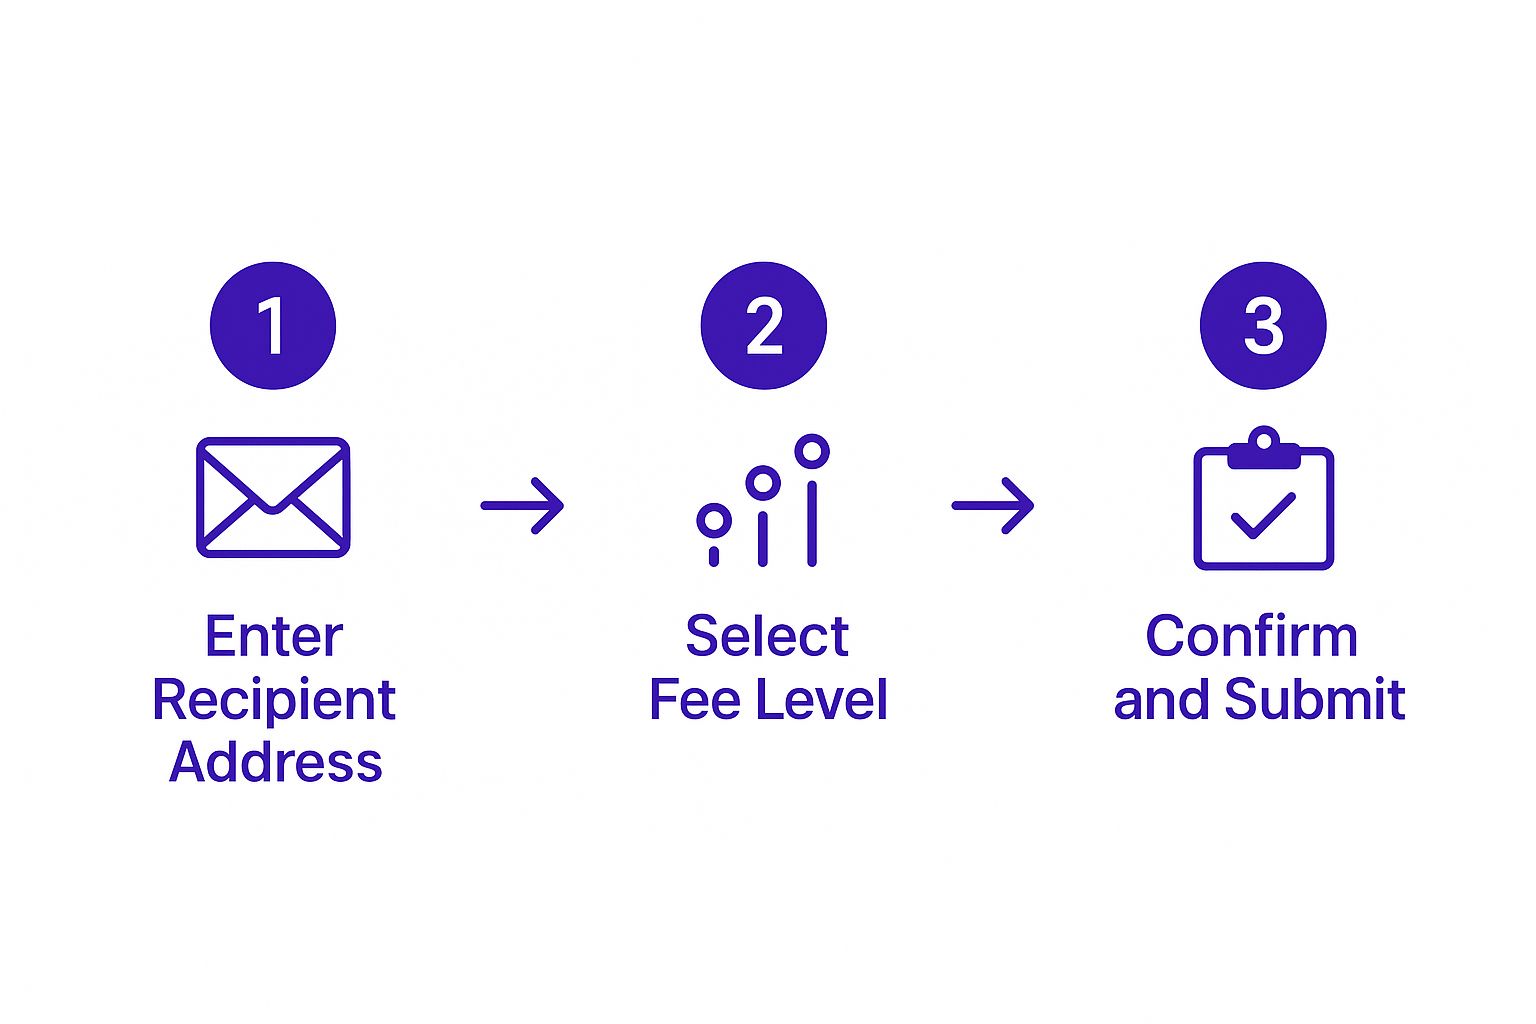
As you can see, it boils down to three key actions: specifying the destination, setting the fee, and giving your final approval.
You’ll then land on a confirmation screen. This is your final checkpoint. It will show the full recipient address, the send amount, and the network fee (often called a "gas fee"). This fee is what you pay to miners or validators to process your transaction on the blockchain. Some platforms let you adjust this fee; you can get a better sense of how this works by checking out their documentation, like the vTrader transaction fees page.
Before you even think of hitting that final button, run through this mental checklist. It's saved me more times than I can count.
Crypto Sending Checklist Before You Hit Confirm
This quick table is your last line of defense against common, irreversible mistakes. Give it a once-over every single time.
| Check Item | Why It's Critical | Quick Tip |
|---|---|---|
| Recipient Address | An incorrect address means permanent fund loss. There is no "undo" button. | Visually verify the first and last 4-6 characters after pasting. |
| Network Selection | Sending on the wrong network (e.g., ERC-20 to a TRC-20 address) will lose your crypto. | Double-check with the recipient which network they expect to receive funds on. |
| Transaction Amount | A simple typo could mean sending 10 BTC instead of 1.0 BTC. | Count the decimal places and double-check the currency symbol. |
| Network Fee | Fees can fluctuate wildly based on network congestion. | If the fee seems too high, wait for a less busy time to transact. |
Once everything on your checklist looks good, you can confidently hit "Confirm" or "Send." Your transaction is then broadcast to the network, and at this point, it's out of your hands and irreversible. You can usually track its progress on a block explorer to see when it's officially confirmed and added to the blockchain.
Understanding Crypto Gas Fees and Network Speed
Whenever you send crypto, you’ll run into something called a gas fee. This isn't some extra charge pocketed by your wallet or exchange. It’s a direct payment to the miners or validators who keep the blockchain running.
Think of it like paying for postage. This fee is the incentive that gets your transaction picked up, verified, and permanently recorded on the network. Without it, there’s no reason for anyone to process your transfer.
These fees aren’t set in stone; they fluctuate based on simple supply and demand. When the network gets crowded with people trying to send transactions all at once, congestion kicks in. Validators naturally prioritize transfers that offer a higher fee, which is why you see costs jump during peak trading hours or when a hyped-up new token drops.
How to Choose the Right Fee
Most modern wallets take the guesswork out of this by offering a few fee tiers, usually labeled "low," "average," and "high." Your choice here is a direct trade-off between cost and speed.
- Urgent Transactions: If you need your funds to arrive fast, don't hesitate to select the "high" fee. This essentially lets you cut to the front of the line, ensuring a quick confirmation.
- Non-Urgent Transactions: On the other hand, if you're not in a rush, picking the "low" fee can save you a nice chunk of change. Your transaction will get there, it just might take a bit longer if the network is busy.
For a real-time pulse on network congestion and what you should expect to pay, especially on a busy network like Ethereum, a dedicated gas tracker is an indispensable tool. You can check our live ETH gas tracker to see how fees are moving before you hit send.
The Rise of Layer-2 Networks
To get around the high fees and sluggish speeds plaguing major blockchains like Ethereum, Layer-2 networks (L2s) have become a game-changer. These are essentially express lanes built on top of the main blockchain, processing transactions with incredible speed and for a fraction of the cost. Sending crypto on an L2 like Arbitrum or Polygon is often nearly instant and can cost pennies.
This kind of efficiency is becoming non-negotiable as crypto adoption explodes. With projections that U.S. crypto trading volume could surpass $2 trillion in 2025, the need for cheap, fast transactions has never been more intense. Millions of wallets hold relatively small balances, making low-cost Layer-2s a lifeline for the everyday user.
Choosing Where to Send Your Crypto From
Before you can send your crypto, you have to decide where you're sending it from. This isn't just about picking an app; it’s a strategic choice that determines how much control, security, and access you really have. Your two main launchpads are centralized exchanges (CEXs) and self-custody wallets, each with its own set of rules.
For many, the crypto journey starts on leading cryptocurrency exchanges like Binance. These platforms feel familiar, almost like an online bank. They smooth out the technical wrinkles and offer a safety net with things like customer support and password recovery, which can be a huge relief for newcomers.
But that comfort has a catch: you don't actually control your crypto. On a CEX, the exchange holds the private keys, not you. You're trusting them to keep your funds safe and to process your withdrawals when you ask.
The Self-Custody Advantage
This is where self-custody wallets—often called non-custodial wallets—completely change the game. With one of these, you and you alone hold the private keys. That means you have total sovereignty over your assets. No one can freeze your funds or block you from making a transaction.
This kind of control isn't just a philosophical point; it's a practical necessity for getting involved in the world of decentralized finance (DeFi). If your plans go beyond simple sends and you want to dive into yield farming or lending protocols, a self-custody wallet is non-negotiable. Exploring concepts like crypto staking almost always starts by moving your assets off an exchange and into a personal wallet where you call the shots.
Key Takeaway: The choice between a CEX and a wallet really boils down to convenience versus control. Exchanges are simpler for basic transfers, but wallets unlock the true power of what your digital assets can do.
There's a clear trend of users shifting toward this kind of decentralized power. Recent data shows that while centralized exchange spot trading volume fell to $3.9 trillion in Q2 2025, trading on decentralized exchanges (DEXs) shot up by over 25%. This shift highlights a growing appetite for the autonomy that only self-custody can offer. You can dig into the full breakdown in CoinGecko's latest crypto industry research.
Ultimately, let your goals guide your choice. For a quick, one-time payment funded from your bank, a CEX gets the job done efficiently. But for long-term holding, serious DeFi engagement, or simply embracing the core crypto principle of self-sovereignty, a dedicated wallet is the far better tool for the job.
Mastering Security for Every Crypto Transfer
In the world of crypto, security isn’t just an afterthought—it's everything. Because every single transaction is irreversible, there’s no room for error. Developing solid security habits is what keeps seasoned pros safe and prevents newcomers from becoming another cautionary tale.
It all boils down to your seed phrase, the master key that unlocks your entire crypto portfolio. You must never, ever store this digitally. That means no text files, no email drafts, and certainly no cloud storage. Get a piece of paper or a metal plate, write it down, and stash it somewhere safe and completely offline.
Even with your seed phrase tucked away, how you handle your active wallet is critical. For anyone holding a serious amount of crypto, a hardware wallet is non-negotiable. These little physical devices keep your private keys isolated from the internet, forcing you to physically confirm every single transaction. It's hands-down the best way to shield yourself from hackers.
Spotting Sophisticated Scams
Beyond the basics, you have to stay sharp to more advanced threats like address poisoning. This is a particularly nasty scam where a fraudster sends a tiny, almost worthless amount of crypto to your wallet. Their address is crafted to look nearly identical to one you’ve used before, hoping you'll just copy and paste it from your transaction history without a second thought.
The core principle to internalize is simple yet powerful: 'not your keys, not your crypto.' This mantra is a constant reminder that if you don't have exclusive control over your private keys, you're merely trusting a third party with your assets.
This kind of hyper-vigilance is crucial when the market gets hot, as frenzied activity attracts a swarm of bad actors. To give you an idea, in the first half of 2025 alone, crypto exchange trading volume rocketed to an incredible $9.36 trillion as the market swung wildly. While that's great for market health, it also creates a perfect hunting ground for scammers, demanding that users get serious about security. You can dig into these market dynamics in a recent analysis of crypto exchange trading volumes on ffnews.com.
To keep yourself protected, make these practices second nature:
- Use 2FA: Lock down every exchange account with two-factor authentication. Always opt for an authenticator app over SMS, as it’s far more secure.
- Bookmark Sites: Don't ever click links from emails or social media to access your accounts. Navigate directly to exchanges and wallet services using your own bookmarks.
- Triple-Check Addresses: Before hitting send, meticulously verify the entire address—not just the first and last few characters.
Building these habits creates a strong security foundation, allowing you to navigate the crypto space with confidence.
Frequently Asked Questions About Sending Crypto
Even with the best instructions, a few lingering questions are completely normal when you’re getting started with crypto transactions. Let's clear up some of the most common ones so you can send funds with confidence.
What Happens If I Send Crypto to the Wrong Address?
This is the big one, and the answer is sobering. Since blockchains are decentralized and irreversible, any crypto sent to the wrong address is almost certainly gone for good. There's no customer support line or central bank to reverse the transaction.
This is exactly why it’s mission-critical to double-check every single character of a wallet address. For any new recipient, always send a tiny test amount first. It's a small price to pay for peace of mind.
How Long Does a Crypto Transfer Usually Take?
Transfer times can be all over the map, and it really hinges on which cryptocurrency you’re using and how busy its network is at that moment.
A Bitcoin transaction, for instance, might take anywhere from 10 minutes to over an hour during peak times. On the other hand, networks like Solana are built for speed and can often confirm transactions in seconds. The fee you pay also plays a huge role—think of it as a bid. A higher fee tells miners to prioritize your transaction, pushing it to the front of the line.
For more in-depth answers to common questions, our dedicated vTrader FAQ page is a great resource.

Steve Gregory is a lawyer in the United States who specializes in licensing for cryptocurrency companies and products. Steve began his career as an attorney in 2015 but made the switch to working in cryptocurrency full time shortly after joining the original team at Gemini Trust Company, an early cryptocurrency exchange based in New York City. Steve then joined CEX.io and was able to launch their regulated US-based cryptocurrency. Steve then went on to become the CEO at currency.com when he ran for four years and was able to lead currency.com to being fully acquired in 2025.